


Brake Rotor Warping Causes and What to Check
A steering wheel that shudders when you brake from highway speed is not just irritating. It can increase stopping-distance uncertainty, reduce driver confidence, and point to a brake issue that deserves proper inspection. Although drivers often search for brake rotor warping causes, a rotor that is physically bent by heat is less common than most people think. In many cases, the vibration comes from uneven rotor thickness, uneven brake-pad material transfer, or a rotor that is not sitting perfectly flat on the hub.
Getting the diagnosis right matters. Replacing rotors without correcting the underlying cause can bring the vibration back quickly, wasting parts, labor, and downtime for both vehicle owners and workshops.
Brake pulsation happens when the brake pads do not contact a perfectly uniform braking surface as the rotor turns. The driver may feel this through the brake pedal, steering wheel, vehicle floor, or seat. At low speed, it can feel like a repeated grab-and-release action. At higher speed, it may become a pronounced shake under medium to firm braking.
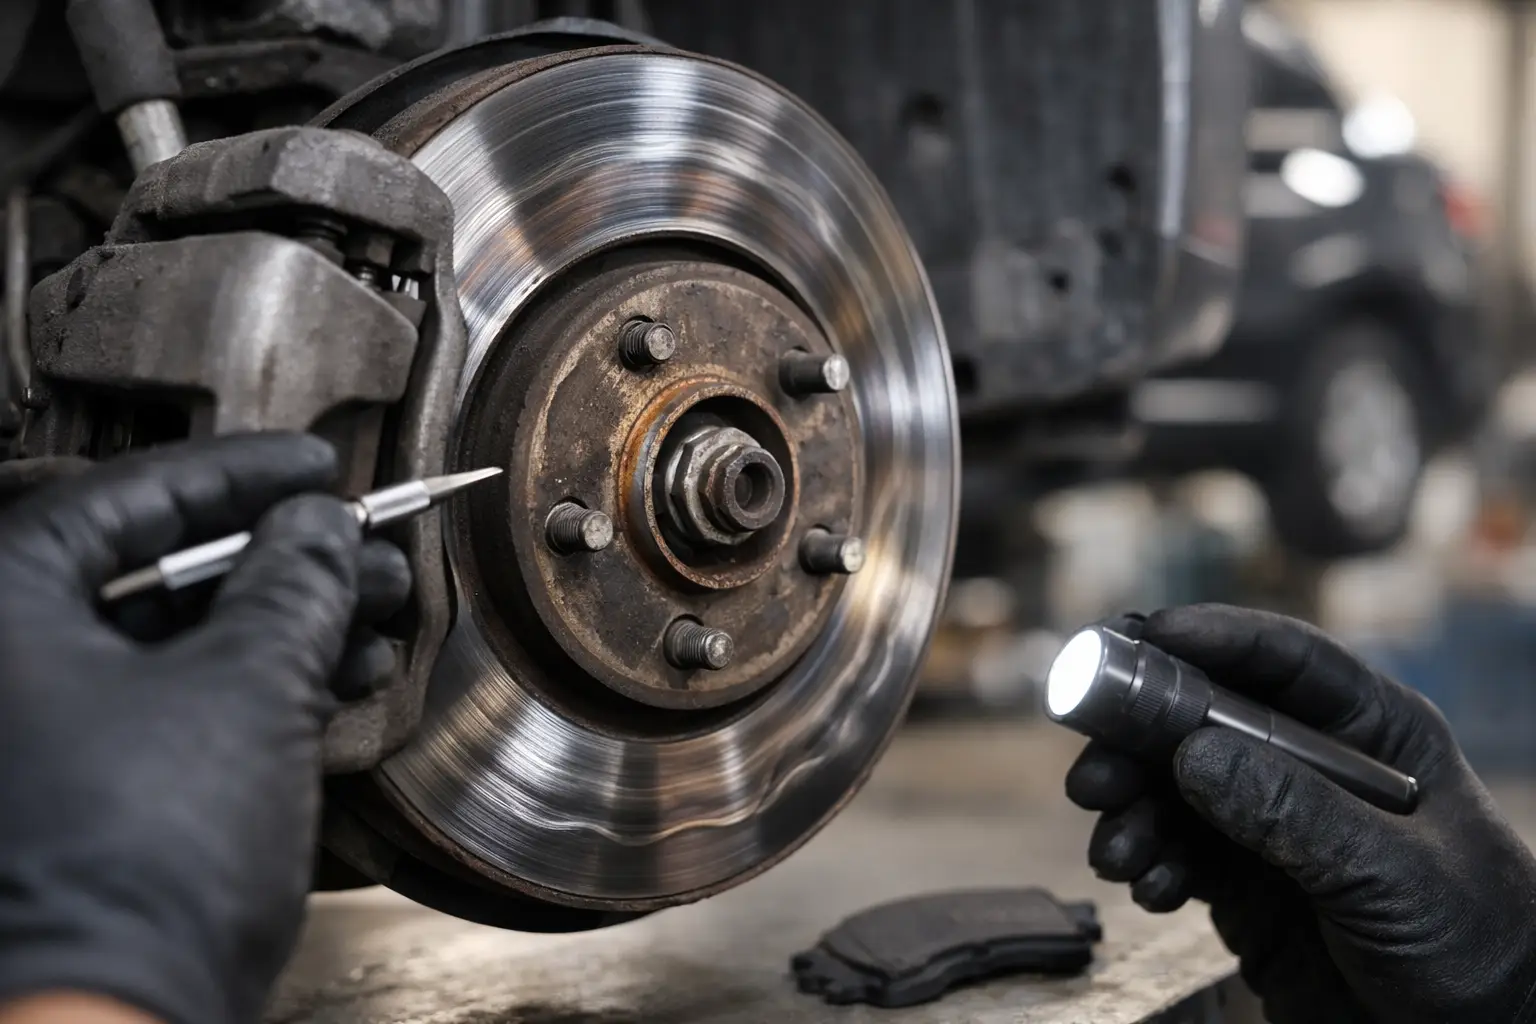
True rotor distortion can happen when a brake disc reaches extreme temperatures. However, modern rotors are designed to withstand normal heat cycles. More frequently, the problem is disc thickness variation, often called DTV. Tiny high and low spots on the rotor surface create changes in clamping force as the pads pass over them. A variation too small to see can still be felt by the driver.
Uneven friction material deposited by the brake pad can create a similar sensation. This is why a complete inspection should cover the rotor, pads, caliper, hub, and installation condition rather than blaming the disc alone.
Long downhill driving, towing, aggressive high-speed braking, or riding the brakes can push rotor temperatures beyond their normal operating range. When the brake system overheats repeatedly, the rotor surface can develop hot spots and uneven friction transfer. Severe overheating may also change the metal structure in localized areas, making the disc more prone to further variation.
The risk is higher when a vehicle carries heavy loads, has undersized or poor-quality brake components, or has a sticking caliper. A bluish or dark discolored rotor is a warning sign of excessive heat, although color alone does not confirm whether the disc can be reused.
Stopping hard and then keeping firm pressure on the brake pedal can leave the hot pad pressed against one small rotor area. That area cools differently from the rest of the disc and may receive an uneven layer of pad material. The result can be a brake judder on the next drive.
This does not mean drivers should avoid holding a vehicle safely at a stop. It means that after repeated heavy braking, it is sensible to allow the brakes to cool with gentle driving when conditions permit. Using the parking brake appropriately on a slope can also reduce sustained clamping from the front brakes, depending on the vehicle design.
Rust, dirt, paint overspray, old gasket material, or corrosion trapped between the hub and rotor can create lateral runout. In simple terms, the rotor does not rotate in a perfectly flat plane because it is mounted slightly crooked. Even a small amount of runout can gradually produce thickness variation as the pads contact the high point during every rotation.
This is one of the most preventable causes of recurring brake vibration. Before installation, technicians should clean the hub face thoroughly, inspect the hub for corrosion or damage, and measure rotor runout with a dial indicator where equipment is available. The wheel mounting face also needs to be clean.
Overtightening wheel lug nuts with an impact wrench, or tightening them in an uneven sequence, can distort the rotor hat and mounting area. The effect is more likely on thinner discs, but any rotor can be affected by poor installation practice.
Use the vehicle manufacturer's specified torque and tighten the lugs in a star or cross pattern. A calibrated torque wrench is the correct finishing tool. This is a small step with a large effect on rotor life, wheel security, and workshop quality control.
A caliper that does not release properly keeps one pad in contact with the rotor. This creates constant drag, heat, rapid pad wear, and often a pull to one side during braking. Seized guide pins can cause similar trouble by preventing a floating caliper from applying force evenly across both pads.
If one rotor is much hotter than the other after normal driving, or one pad is worn far more than its matching pad, inspect the caliper piston, guide pins, brake hose, and pad hardware. Installing new rotors and pads without repairing a dragging caliper usually leads to another early failure.
The brake disc, pad compound, caliper hardware, and vehicle application must work together. A rotor with poor material consistency, insufficient cooling design, or inaccurate machining may not manage heat as intended. Likewise, a low-quality pad may deposit friction material unevenly, wear too quickly, or generate excessive heat.
Correct fitment matters just as much as component quality. A rotor with the wrong thickness, offset, center bore, or ventilation design should never be forced into service. For workshops and retailers, supplying application-specific parts reduces return claims and protects customer safety.
Not every vibration comes from the front rotors. A steering-wheel shake during braking commonly points to a front-brake or front-suspension concern, while a vibration felt mainly through the seat may involve the rear brakes. Loose control arm bushings, worn ball joints, wheel bearing play, tire issues, and loose steering components can amplify a brake vibration.
Watch for these symptoms, especially if they appear together:
A crack in a brake rotor, severe scoring, or brake fade should be treated as a safety concern, not a wait-and-see repair.
A reliable diagnosis begins with a road test to confirm when and where the vibration occurs. The technician should then inspect pad thickness and wear pattern, rotor condition, caliper movement, slide pins, hoses, and brake hardware. Wheel bearing condition and suspension play should also be checked before assuming the rotors are the sole cause.
Next, measure rotor thickness at several points around the disc with a micrometer. Compare the readings with the vehicle specification and the rotor's minimum thickness marking. A dial indicator can measure lateral runout once the rotor is secured correctly to the hub.
If runout is excessive, remove the rotor and check the hub face before replacing anything. Rotating the rotor position on the hub may help identify whether the runout follows the rotor or the hub. This method prevents a common mistake: fitting a new rotor onto a contaminated or distorted mounting surface and repeating the same problem.
Machining a rotor may be possible when it remains above minimum thickness and has no heat cracks or serious damage. Still, replacement is often the more practical choice when the disc is thin, heavily heat-checked, or likely to fall below specification after machining. Rotors should normally be replaced in axle pairs, along with pads when pad surfaces are glazed, contaminated, or unevenly worn.
A quality brake repair depends on more than the box of parts. Clean mounting surfaces, correct pad hardware, lubricated slide-pin contact points where specified, proper lug torque, and a careful road test all matter. New pads and rotors also benefit from a controlled bedding-in procedure. Follow the pad manufacturer's instructions, but generally this involves several moderate stops to transfer an even layer of friction material without overheating the brakes.
For daily passenger vehicles, choose rotors and pads designed for the exact application rather than selecting parts on price alone. SAIKO supplies quality-controlled brake discs and brake pads for a broad range of Japanese, Korean, Malaysian, and other passenger vehicles, giving workshops and owners a practical option where accurate fitment and dependable value are priorities.
Drivers can extend brake life by maintaining safe following distance, avoiding brake-pedal riding on long descents, and addressing pulling, squealing, or vibration early. For workshops, the best protection against repeat rotor complaints is simple: inspect the complete brake system, measure rather than guess, and correct the cause before fitting new parts.
Recent Posts
.png "Image")
Vehicle Theft in Malaysia: Why Genuine Replacement Parts Matter More Than Ever
07 Sep 2026
.png "Image")
Isuzu's 1,756km One-Tank Run and the Suspension Secret Behind Fuel Efficiency
05 Sep 2026
Bigger Budi95 Quota, More Mileage: What It Means for Your Car's Suspension
03 Sep 2026
.png "Image")
What China's 4.3 Million Car Recall Teaches Malaysian Drivers About Mechanical Reliability
01 Sep 2026
.png "Image")
Malaysia's Road Maintenance Funding Gap — What It Means for Suspension and Steering Wear
28 Aug 2026
 Whatsapp Us NowSaiko Automotive

