


How to Match Parts Fitment Correctly Every Time
A lower arm can look identical to the one removed from a vehicle and still be wrong. A small difference in bushing position, ball joint taper, ABS sensor provision, or mounting-hole spacing can turn a routine repair into a return, an installation delay, or a safety concern. Knowing how to match parts fitment correctly protects workshops, retailers, and drivers from these expensive mistakes.
Correct fitment is not simply matching a vehicle make and model. It means confirming that a replacement part matches the vehicle's exact production specification, including engine, transmission, drivetrain, body style, build date, and factory options. This matters especially for common Malaysian vehicles, where one model name may cover several generations, engine variants, and mid-production changes.
The registration number is a useful starting point, but it should not be the only source used to identify a part. Registration data may be incomplete, and a vehicle may have been modified or fitted with parts from a different variant during a previous repair.
The most dependable reference is the 17-character Vehicle Identification Number, or VIN. It can identify the manufacturer, production series, model year, factory, and sequence information needed to narrow down catalog applications. For some Japanese, Korean, Malaysian, and continental vehicles, the chassis number is particularly useful when checking OE references.
Before ordering, record the vehicle make, model, year, engine size and code, transmission type, drivetrain, body style, VIN or chassis number, and current mileage. Also ask whether the vehicle has ABS, electronic suspension, four-wheel drive, or other factory equipment that may change the part specification.
A 1.5-liter sedan and a 1.8-liter version of the same model may use different brake disc diameters, wheel hubs, drive shafts, timing components, or engine mounts. A two-wheel-drive and all-wheel-drive version may have entirely different drivetrain parts. The model badge alone is rarely enough.
An OE number is one of the strongest fitment references available. It is the original equipment part number assigned by the vehicle manufacturer. When the old part is available and its number is readable, compare that number against the replacement catalog listing.
This approach is especially effective for wheel hubs, tie rod ends, strut mounts, brake pads, timing kits, ball joints, control arms, and steering components. A reliable aftermarket catalog should cross-reference the OE number and list the specific vehicle applications it supports.
However, OE numbers need careful interpretation. Manufacturers may replace an older number with a superseded number, or use different numbers for left- and right-hand parts. Some numbers identify a component assembly, while others identify only a service part within that assembly. Confirm that the cross-reference applies to the required component, not simply a similar-looking item.
If the old part has no readable number, use the VIN and catalog application as the primary check, then confirm physical details before installation. Do not rely solely on an online image. Product photos may be representative and may not show every variation.
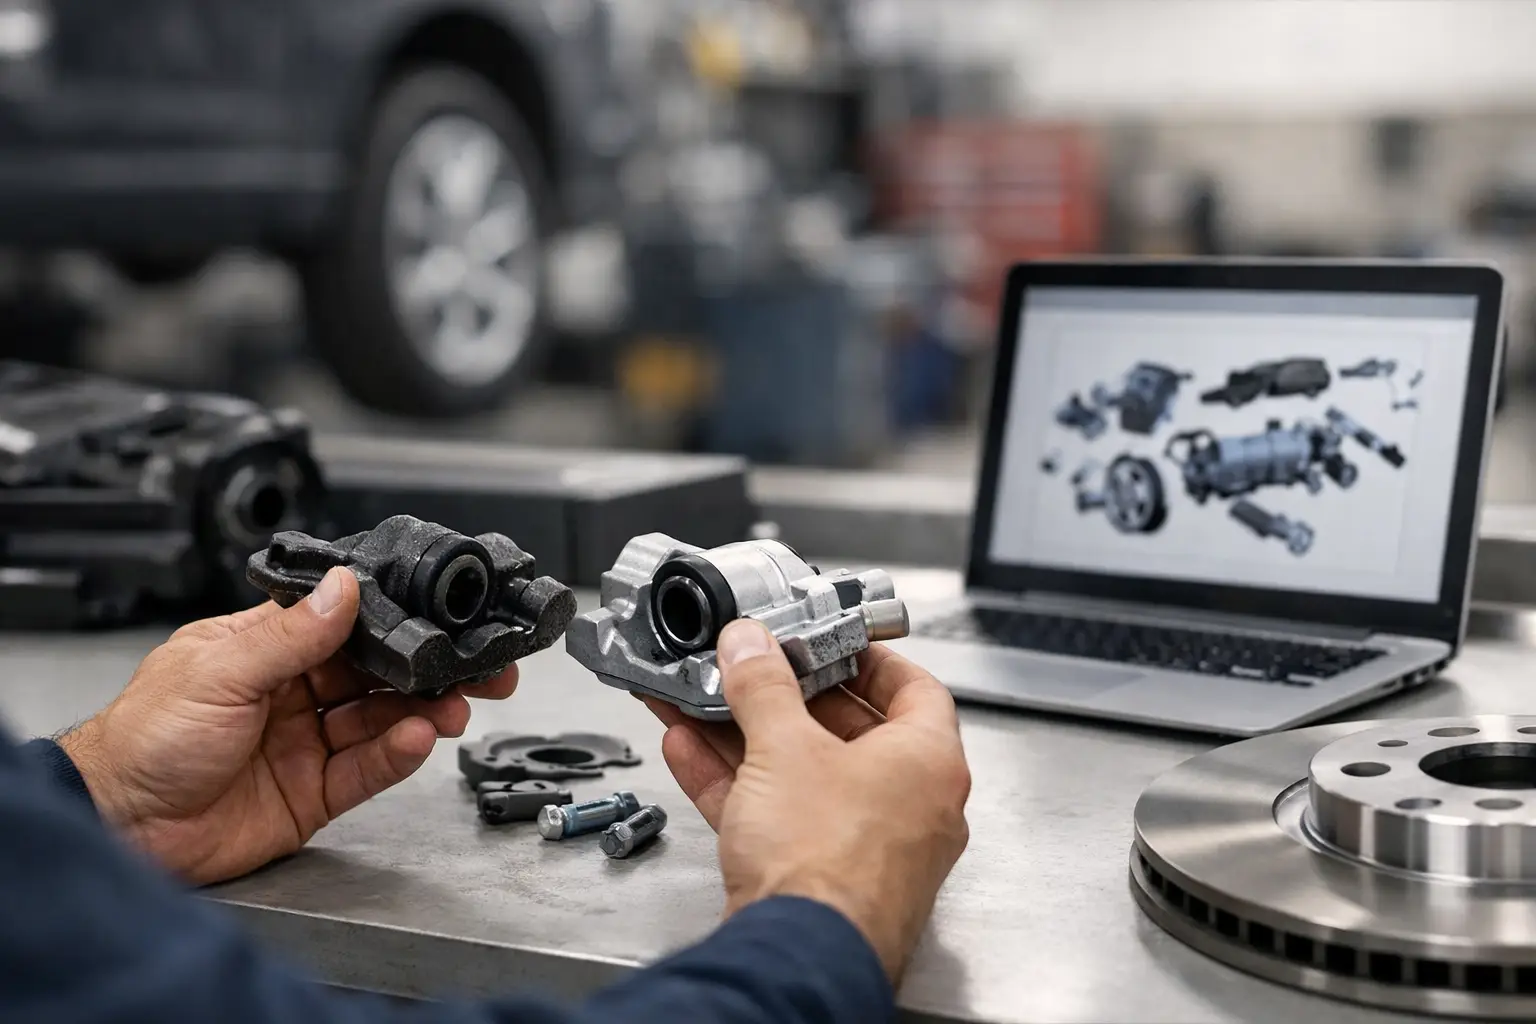
Once the catalog identifies a likely part, compare the replacement against the removed component and the vehicle mounting points. This final check catches errors caused by catalog gaps, prior incorrect repairs, or model-year changes.
For suspension and steering parts, check the mounting-hole count and spacing, ball joint pin diameter and taper, bushing design, arm shape, stabilizer-link length, and left- or right-hand orientation. On control arms and lower arms, even a minor difference in bushing placement can affect alignment and suspension movement.
For braking parts, confirm brake disc diameter, thickness, center bore, bolt pattern, overall height, vented or solid design, and ABS tone ring specification where applicable. Brake pads must match the caliper shape and backing plate profile, not only the vehicle model. A pad that physically enters the caliper but does not align correctly can cause noise, uneven wear, or reduced braking performance.
For wheel hubs and hub bearings, verify the number of wheel studs, spline count, flange dimensions, sensor connection, and bearing type. Modern hubs with integrated ABS sensors require particular attention. Installing a non-ABS hub on an ABS-equipped vehicle, or using the wrong sensor configuration, can trigger warning lights and compromise safety systems.
Drive shafts require checks for transmission type, left or right side, overall length, spline count at both ends, ABS ring type, and engine or drivetrain variant. Timing kits must match the engine code and production range because belt length, tooth count, tensioner design, and water pump configuration can differ within the same engine family.
A vehicle's model year does not always tell the full story. Manufacturers regularly introduce running changes during production. The same car sold in the same calendar year may use different parts depending on the month it was built.
Catalogs often show fitment ranges such as “up to 06/2016” or “from 07/2016.” These dates are not minor details. They may indicate a change in hub design, brake caliper, steering rack, engine timing arrangement, or suspension geometry.
Check the build date on the vehicle identification label, usually located on the driver-side door frame, engine bay, or firewall. When the catalog gives a production split, match the date exactly. If the vehicle was registered much later than it was manufactured, use the build date rather than the registration date.
This is also why workshops should inspect the removed part when a catalog shows multiple options. A car may have received an earlier or later component during a previous repair, and the vehicle's current configuration must be understood before fitting a replacement.
The most reliable workshops build a repeatable process into every order. First, identify the vehicle through VIN or chassis number. Next, select the application using a quality catalog and OE cross-reference. Then compare the key physical specifications with the removed part before installation.
A clear order record should include the vehicle details, OE number when available, selected aftermarket part number, and notes about production dates or special equipment. This reduces repeated research when the same customer returns for related work and helps retailers handle technical inquiries accurately.
For fast-moving items, retailers should avoid labeling stock only by broad descriptions such as “Toyota lower arm” or “Honda brake pad.” Organize inventory by the full application and part number. Accurate shelf labeling reduces counter mistakes and makes it easier for staff to serve workshops under time pressure.
If there is uncertainty, pause before opening or installing the part. The cost of one extra verification is far lower than the cost of removing a newly fitted wheel hub, brake disc, drive shaft, or timing kit. Timing components deserve the highest caution because an incorrect kit can lead to serious engine damage.
Correct fitment and component quality work together. A part may match the application on paper but still create installation problems if machining tolerances, rubber compounds, sensor quality, or mounting dimensions are inconsistent.
Reliable aftermarket components should be manufactured to controlled specifications and tested for the demands of their intended application. For suspension parts, this includes accurate ball joint and bushing dimensions. For brake discs, it includes correct machining and balance. For wheel hubs, bearing quality, sealing, and sensor compatibility are central to dependable operation.
SAIKO has supplied OE-standard tested aftermarket components since 2007 across more than 400 vehicle models, providing workshops and retailers with a practical range of suspension, braking, steering, drivetrain, and timing parts. Its nationwide dealer network also gives Malaysian buyers a local route for checking availability and application details before purchase.
Price still matters, particularly for fleet operators and value-conscious car owners. But the lowest-priced item is not always the best value if it causes a repeat repair, alignment issue, brake noise, warning light, or early failure. The better choice is a correctly matched, quality-controlled part that installs properly and performs consistently.
Fitment verification does not end when the part is bolted on. Torque fasteners to the vehicle manufacturer's specification, using new hardware where required. After replacing control arms, tie rod ends, rack ends, or other steering and suspension components, perform a wheel alignment. After brake work, verify pedal feel, bed in pads according to the appropriate procedure, and confirm there are no leaks, abnormal noises, or warning lights.
For wheel hubs, drive shafts, and ABS-related parts, a road test and diagnostic scan may be appropriate. Listen for bearing noise, check for vibration, and confirm that ABS and traction-control indicators remain off. A careful final inspection gives the customer confidence that the part is not only compatible, but working as intended.
The next time a replacement part appears to be an easy match, take the extra minute to verify the VIN, OE reference, build date, and physical specifications. That disciplined habit is one of the most valuable tools on any service counter or workshop floor.
Recent Posts

A Record Year on the Road Means a Record Year Ahead for Maintenance
12 Oct 2026

A Rear Axle Recall Is a Reminder: The Back of the Car Matters Too
12 Oct 2026
Scrap or Maintain? What a Proposed Old-Car Rebate Means for Malaysia's Older Vehicles
09 Oct 2026
Price Transparency Is Coming to the Parts Counter. Here's What Else You Should Check
07 Oct 2026

Parts Availability Is the New Aftersales Battleground. Here's Why It Matters to Every Driver
05 Oct 2026
 Whatsapp Us NowSaiko Automotive

